| |
Click on picture to enlarge |
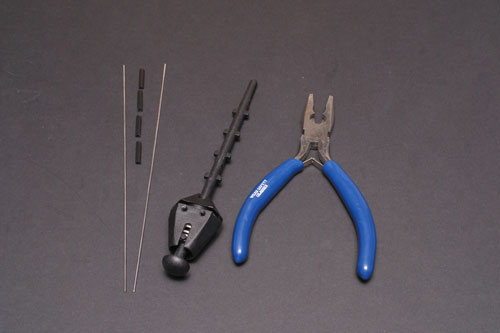
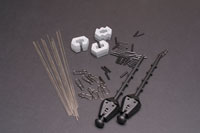
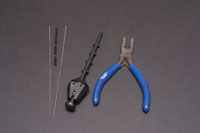
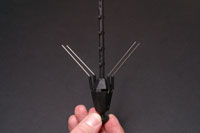
You will need
Stem and cap sections, rollers, wires, base / regular weight segments and small pliers.
Separate instructions (under section Recommended Knots) are given for attaching the unit to the line. |
 |
|
 |
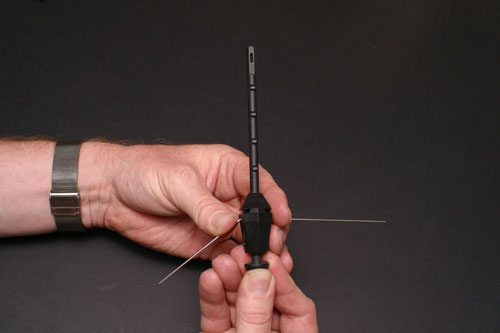
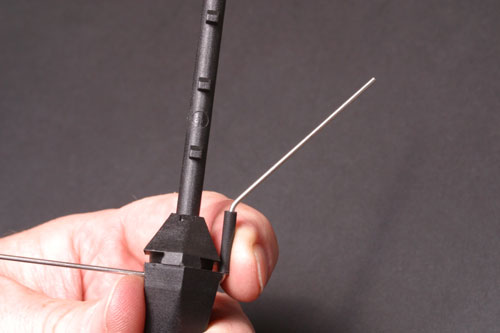
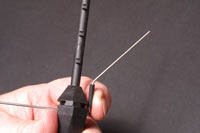
Insert wire
Insert wire into hole in base cap so that an equal length protrudes from each side. |
 |
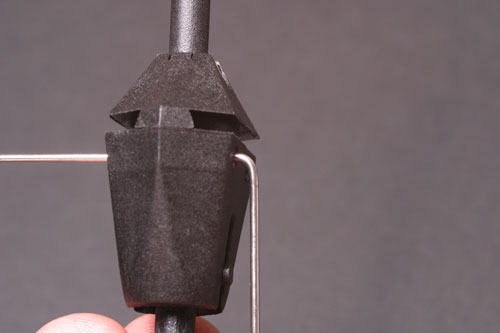
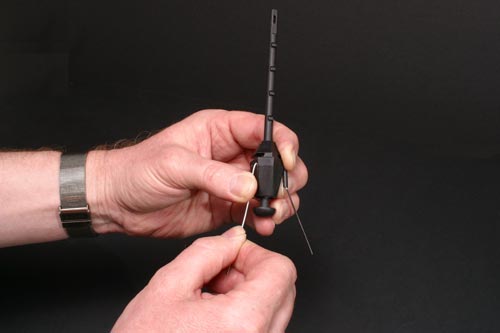
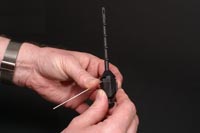
Bend down wire one
Bend wire down against side of base cap until a bend of 90 degrees is made. |
 |
|
 |
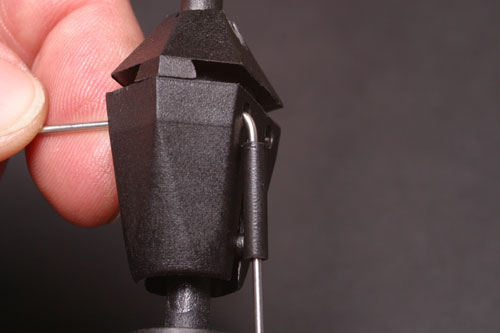
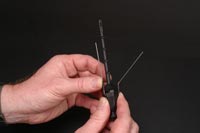
Fit roller one
Slide first roller onto wire, this will ensure that after the second downward bend
is made there is some lateral free play so that the wire does not sit to tightly against
the base cap. |
 |
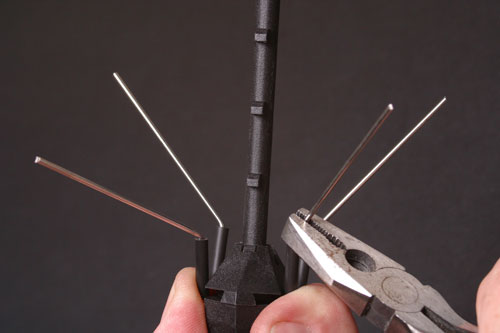
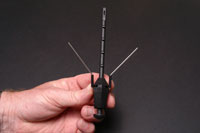
Outward bend one
Using the pliers bend the wire outwards gripping the wire as close as possible to
the roller. |
 |
|
 |
Bend down wire two
Bend the second side of the wire. This can be performed by rotating
the wire so that the first side points downwards then bending the second
side of the wire as was done with the first. |
 |
 |
Fit roller two
Slide second roller onto wire. |
 |
 |
Outward bend two
Bend other side of wire using pliers as with side one. |
 |
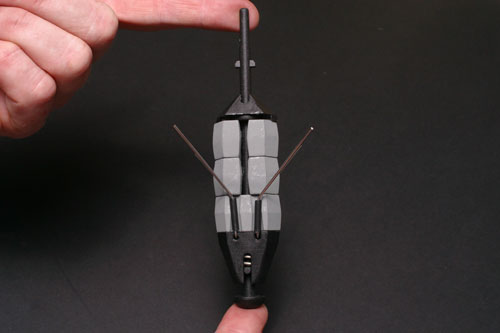
Form second wire
Applying exactly the same method as for the first wire, form the second wire and rollers. |
 |
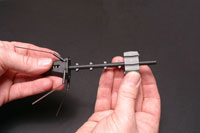
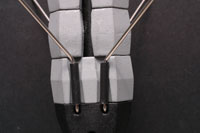
Bend wires to form outward angle
Using pliers bend wires outwards to increase grip function. |
 |
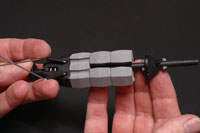
Fit base segment
Slide base segment onto central stem. |
 |
Fit regular segments
Slide on the regular segments as desired and top retaining cap. |
 |
Set desired tension
Bend wires inwards to achieve desired grip tension. The further the wires are
bent inwards the more tension will be required to free the grip wires from their
locked position. |
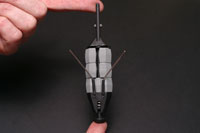 |
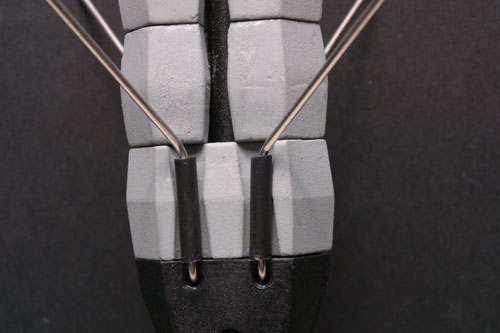
Final assembly
Final assembled system with top cap locked into place. |
 |