|
Click on picture to enlarge |
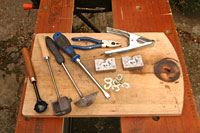
You will need
Mould, mould clamp, large screwdriver, pliers, pouring ladle, cores (if required).
A selection of different types of pouring ladles are shown, purely for demonstration. |
 |
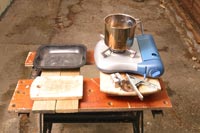
Setup
Ensure work area is well ventilated, completely sheltered from rain and stable.
The work area must be absolutely secured off from children and pets. |
 |
Instructions
The open working area arrangement as portrayed here is preferred for three reasons:-
It allows the moulding to be done in the open air, in this case under a carport which provides
full shelter from rain and wind.
In the case of spillages the molten lead will be more likely to drop
through the gaps thereby reducing the risk of splashing back from a
solid workbench.
By reducing the surrounding work area to a minimum it facilitates the clean up procedure.
|
|
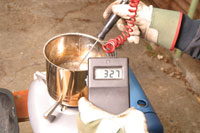
Heat up
Lead melts at a temperature of 327 degrees Celsius, any normal
camping stove will be able to heat the lead to above this temperature
and thus bring it to a molten state.
Once the lead has melted skim off and safely dispose of the impurities (dross) which will rise to the top of the molten lead. |
 |
Warm moulds
Either pre warm the mould or allow the first few castings to stay in
the mould for approximately 20 seconds before removing. Using this
method the first few castings will probably not produce a full weight
because the mould is to cold.
Continue until a full casting is achieved. After the initial warm up
phase keeping the mould warm enough will not be a problem. If you are
working very quickly or in pairs then it is advisable when in between
pourings to place the moulds in the air stream of a small household fan.
This will prevent the mould from getting to hot to handle and will
allow virtually constant production. |
 |
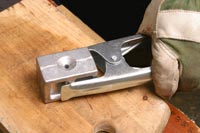
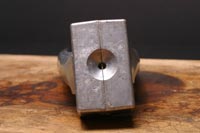
Clamp mould
Place the mould in the clamp |
 |
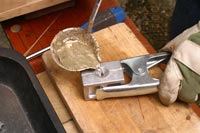
Start pour
Pour lead into mould. |
 |
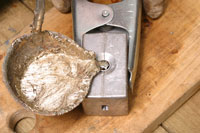
Stop pour
Pour until excess amount begins to fill pour funnel. |
 |
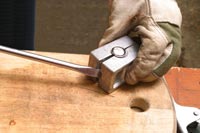
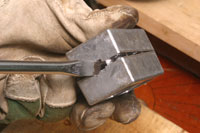
Split mould #1
Wait 10 seconds to allow lead to cool and harden then place screwdriver into side recess and twist. |
 |
Split mould #2
Turn mould over and perform split and twist from other side. The more
times this is performed the easier the weight segment will drop out. |
 |
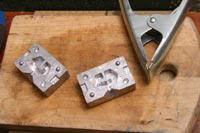
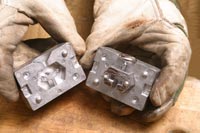
Separate mould
Remove one half of mould. |
 |
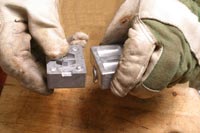
Remove sinker
Turn mould part containing sinker over and then tap the two halfs of the mould together until sinker drops out. |
 |
Allow weight to cool
Although the weight segment may appear cool always allow a sufficient
cooling time before touching with unprotected hands. If the sinker is
touched before it has cooled off burns will occur. |
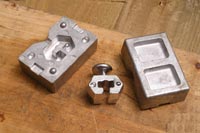 |
If using cores
If the strengthening core is to be used, it must be placed in the
mould before the two halfs are clamped. After clamping the assembled
mould should be gently tapped until the core is visible and aligned with
the split line of the two halfs of the mould. The cores should also be
pre-warmed before use. |
 |
 |